Titles, nine-patch and viewports
A container has no drawing surface of its own: everything that is not an item is drawn through the title. The editor lets you draw it as layers, then compiles the layers into one title string (<shift:N> offsets and glyph characters) and a resource pack that carries the pictures.
Decor layers
Open the Decor tab. The left of the tab is the layer tree, the right the properties of the selected layer. Add a layer with the + Add... list of the toolbar.
| Layer | Use it for |
|---|---|
| Image | A picture from the asset browser, placed at a pixel position. |
| Text | A line of text, compiled with <gui_line>: you choose the font and the position. |
| Flex container | A box that lays its children out in a row or column. |
| Viewport (scrolling) | A window over a larger picture, scrolled by arrows. See Viewports. |
| Tilemap | A grid of tiles, each from an asset. |
| Ninepatch | A panel that stretches without distorting its corners. See Nine-patch. |
- Add the layer, then drag it on the canvas, or type its
xandyin the properties. Positions are in pixels from the top left of the container; the arrow keys move a selected layer by 1 pixel andShiftwith an arrow by 18 pixels (one slot). - Choose its asset (image, tilemap tiles, nine-patch texture) in the asset browser.
- Watch the Title badge in the toolbar: it is the string that will be saved. Layers that compile to nothing keep the title already stored.
- Save with
Ctrl+S, then publish. The pack is rebuilt on the server at publish.
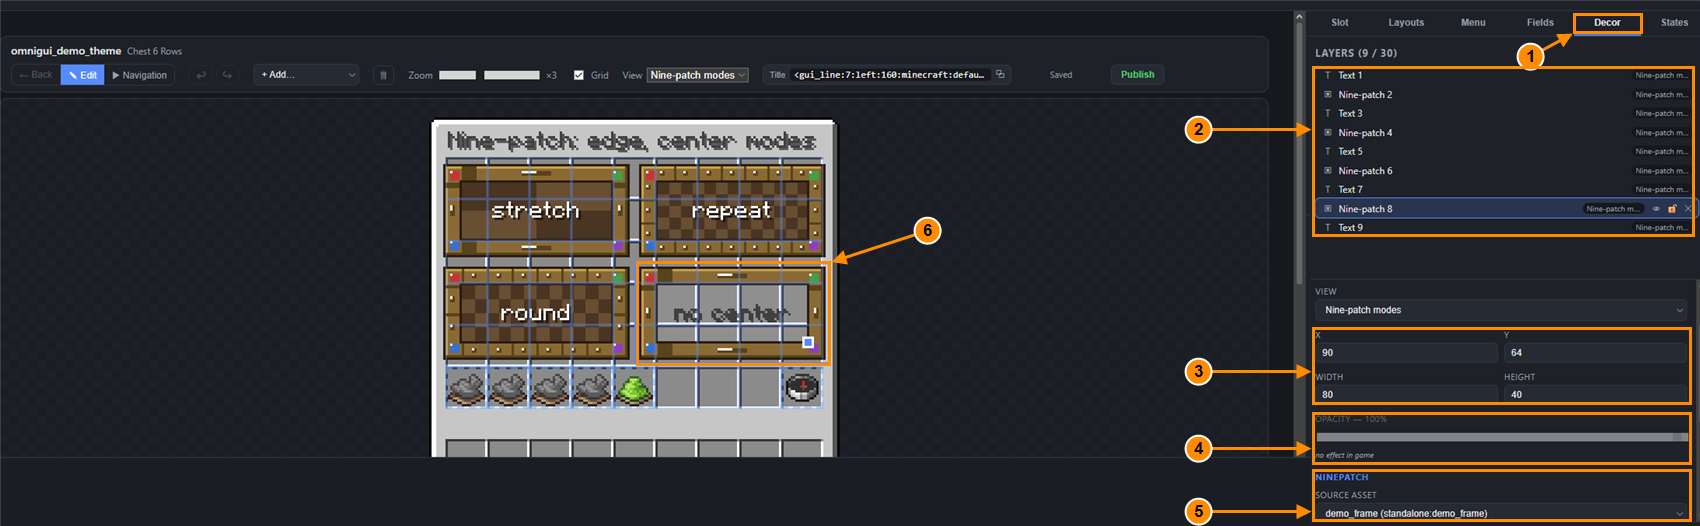
- The Decor tab.
- The layer tree of the menu (Text, Nine-patch...).
- Position and size of the selected layer (X, Y, Width, Height), in pixels.
- The opacity, marked "no effect in game".
- Settings specific to a nine-patch (here the Source asset).
- The selected layer on the canvas.
In game only the compiled title is drawn, so a property it does not read does nothing. The editor says so next to the field instead of letting you believe in a setting:
- Opacity: no effect in game (field disabled).
- Name: editor only, the game does not read it.
- X and Y of a layer inside a flex container: the container places its children, so they are never read.
- Width and height of an image that is a glyph: it keeps the size of its texture.
- Height of a text layer, and width and alignment of a text that is not compiled as a
<gui_line>.
The lock stops you from moving a layer by accident (arrow keys and drag); it is not compiled either.
Text and fonts
A text layer compiles to a <gui_line:...> tag around your text, with a font that carries the glyphs. Two text layers that overlap, or a text whose contrast against its texture is too low, raise a warning (text.contrast.low). Placeholders inside a title are inserted as plain text; see Placeholders.
Squares in the title instead of the picture
Squares where a picture should be mean the client did not accept the resource pack, or the pack is not up to date. Read the client log, check that the pack was sent after your publish, and see Troubleshooting.
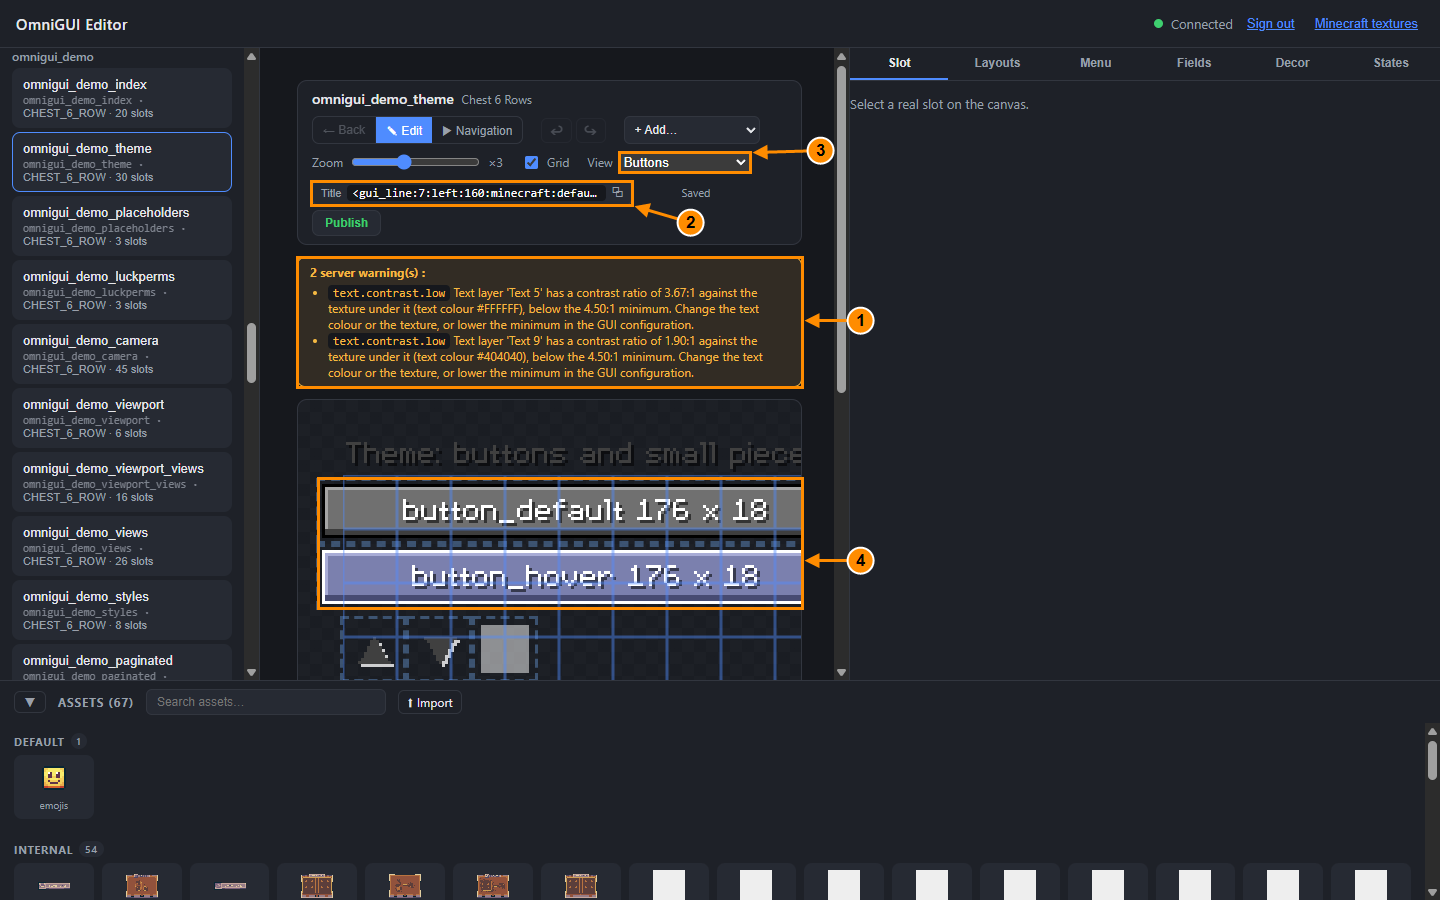
- Server warnings: contrast of two text layers.
- The compiled title.
- The View selector of the menu.
- A nine-patch panel stretched to its size.
Nine-patch
A nine-patch texture is cut into nine zones by four margins. The four corners stay fixed, the four edges stretch along one direction, and the centre stretches both ways. A panel of any size therefore keeps crisp corners.
- Add a Ninepatch layer and pick its texture.
- Set its Width and Height in pixels. Try three sizes: the corners keep their size while the rest grows.
- Set the four margins Top, Right, Bottom and Left: how many pixels of each side are corner. The texture is the Source asset.
- Choose how Edges fill their space: Stretch (scaled), Repeat (tiled) or Round (tiled and scaled so a whole number of tiles fits). The Center takes the same three modes, or Transparent to leave it empty and make a frame. Fill the center switches the centre on or off.
- Save and publish: the server generates the panel bitmaps for the pack.
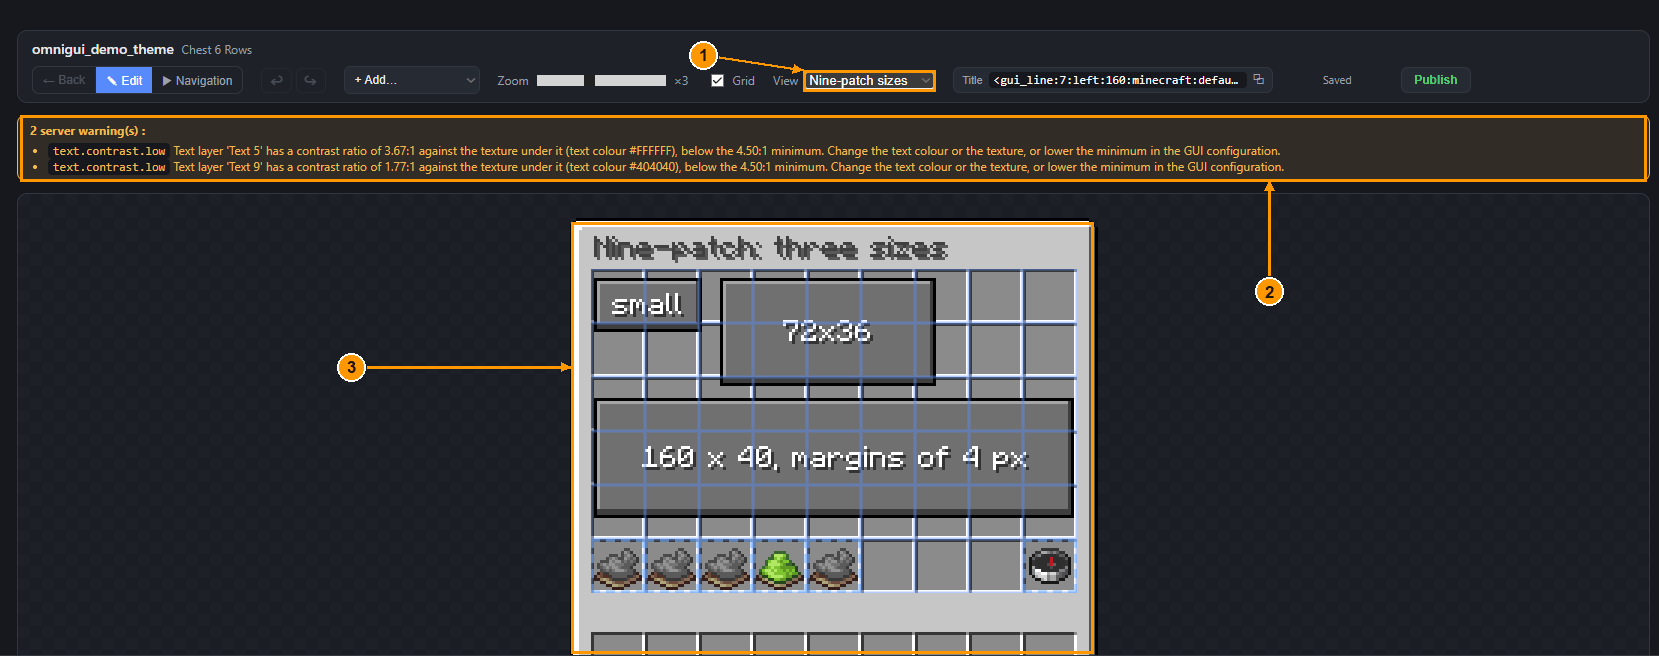
- The View selector: the menu holds a view per nine-patch demo.
- Server warnings (text contrast).
- The three panel sizes on the canvas.
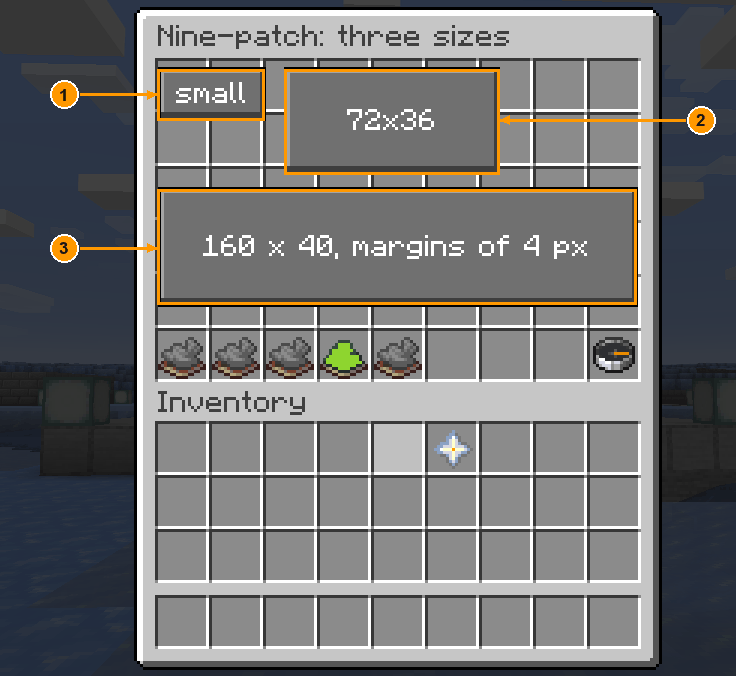
- A small panel.
- A wide one.
- A large one. The corners have the same size in all three.
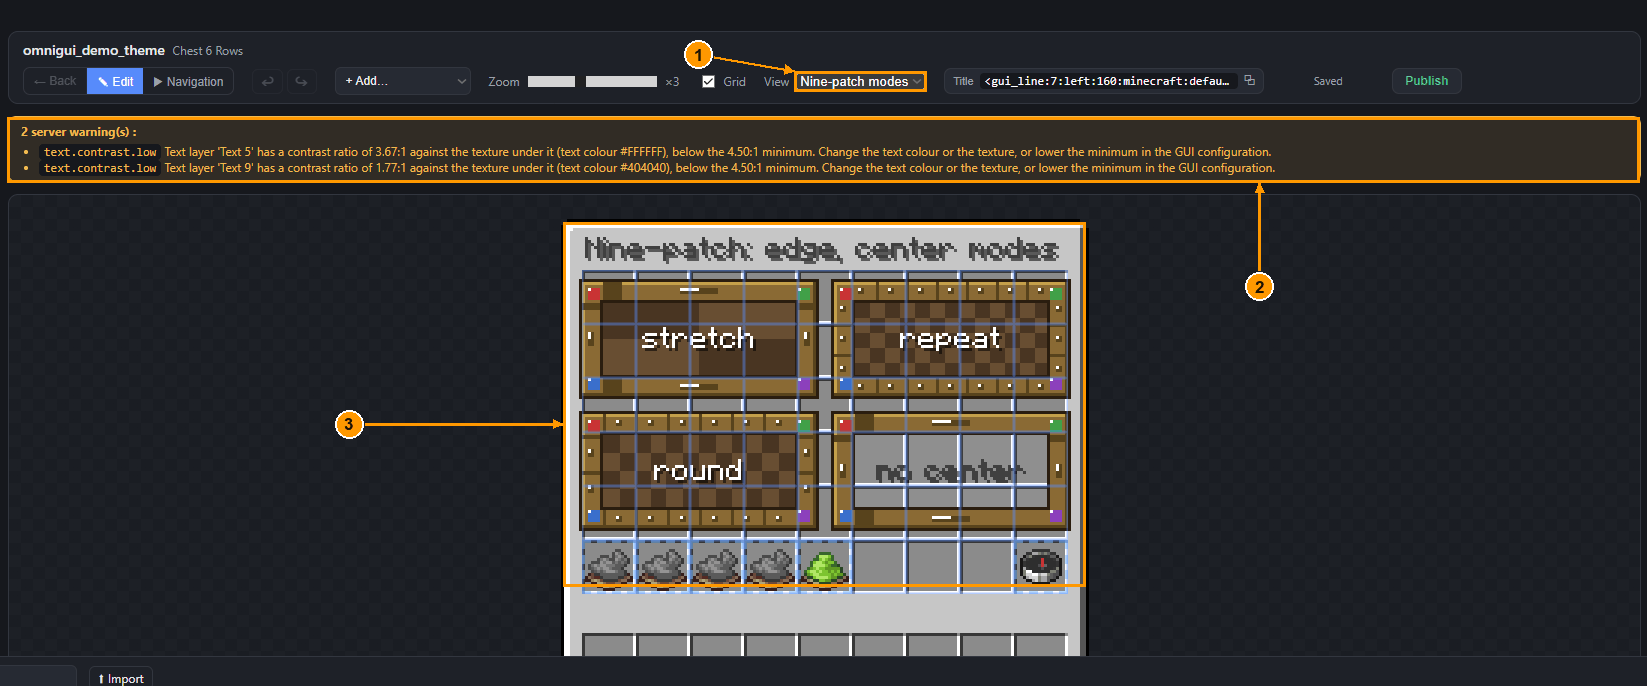
- The View selector.
- Server warnings (text contrast).
- The four modes on the canvas: stretch, repeat, round and no center.
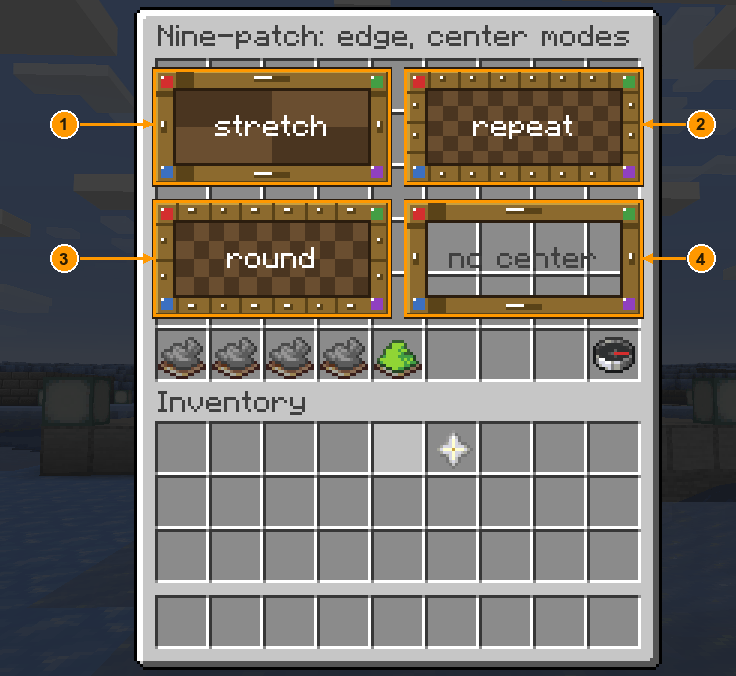
- to 4. The same texture with different edge and centre modes.
The demo menu omnigui_demo_theme shows the Vanilla theme textures at work: buttons, panel and tilemap.
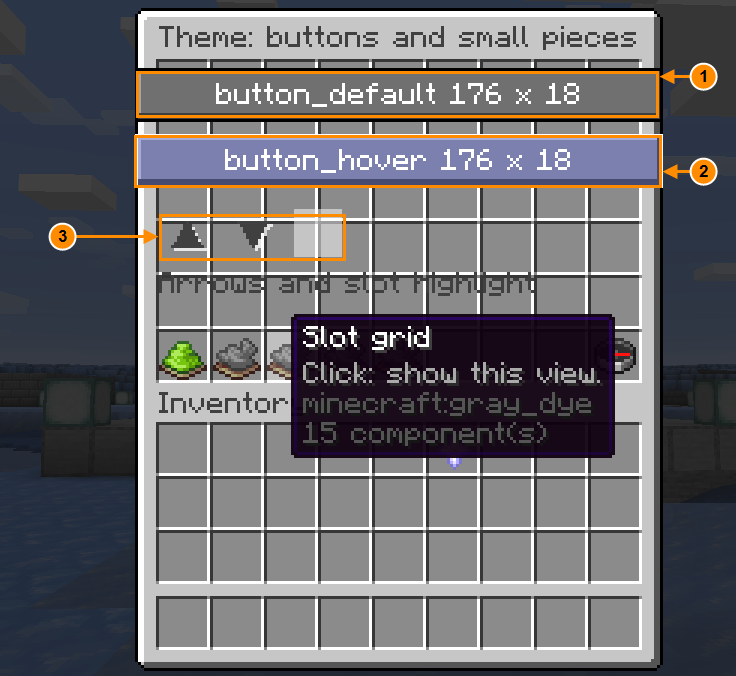
button_default(176×18).button_hover.- The scroll arrows and the slot highlight of the theme.
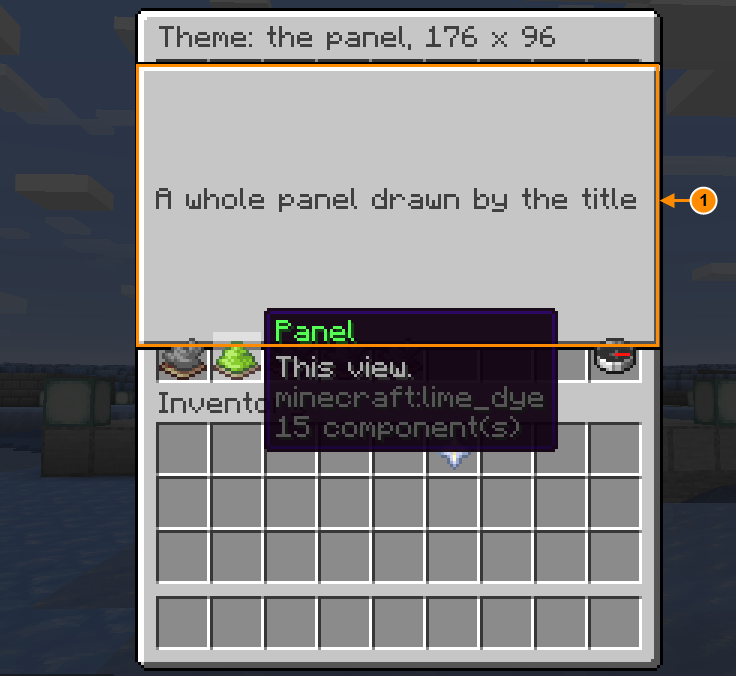
- A whole panel (176×96) drawn by the title.
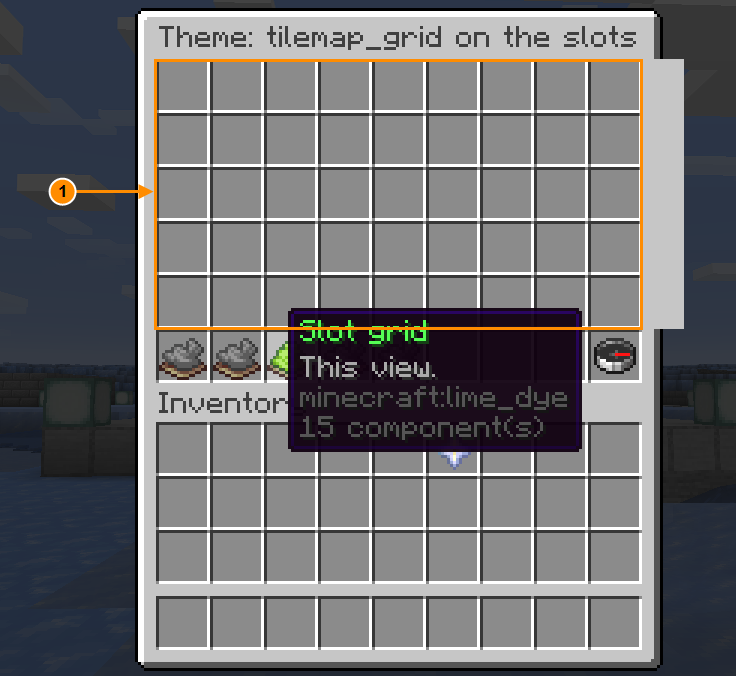
- The
tilemap_gridtilemap laid under the slots of the menu.
Viewports
A viewport is a window over a picture larger than the window. The player scrolls it with arrow buttons. The server pre-bakes every position as a frame in the resource pack, so a very large picture is refused: reduce the world size if the server complains at publish.
- Add a Viewport (scrolling) layer and put what you want to scroll in it. World width and World height (0 = auto) size the picture the window moves over.
- Set the window Width and Height, and the Horizontal step and Vertical step: the number of pixels one click moves.
- Give the viewport a Name, then place arrow buttons whose click runs the
gui:viewportaction on that name (right, left, down, up). The demo menuomnigui_demo_viewportshows how. The mouse wheel scrolls only in the editor's Navigation mode: in game only these actions scroll. - Test in Navigation mode, then in game.
A viewport inside views
A viewport can live in a view (a tab). Each tab keeps its own scroll position: leave the tab, come back, and the window is where you left it.
The demo menu omnigui_demo_viewport_views is the model. Views are explained in Views, layouts, states and data.